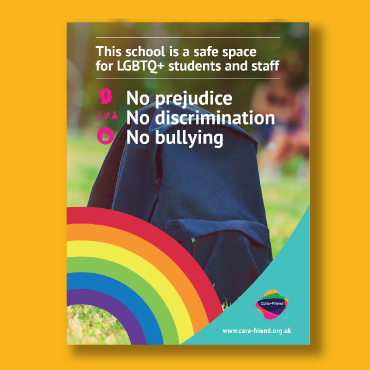
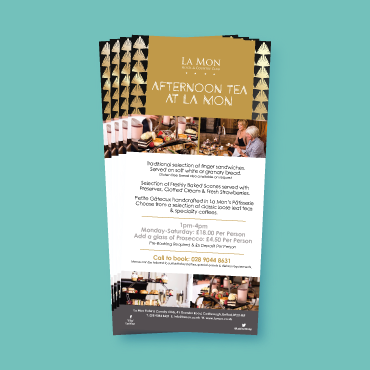
High-quality flyers remain a fantastic way to get the word out about a product or service you have to offer. Many businesses and marketers alike, wrongly believe flyers to be a costly form of advertising. The truth of the matter is, flyers can bring fantastic returns on investment and can really help to drive your business forward. Flyers are great for a number of reasons, including being;
- A real/tangible connection with your brand
- A form of advertising people spend longer with
- A more permanent form of advertising than some digital equivalents
- Ideal for getting the word out locally
So how do you go about creating a flyer? Here’s our ultimate guide.
Create your document using CMYK colour mode
Colour prints can notoriously be difficult to emulate what you expect to see from the process of designing through to the final product. This is because print tends to be more limited in what it can achieve than what you see before you on a screen. By choosing to design your flyer in CMYK colour mode over RGB you’ll get closer to the colour that you can expect to see once your design has been printed.
Set your dimensions
Now, this might seem like an obvious one but it is a mistake that happens very often when it comes to print. Before starting your flyer design you are going to want to ensure that you have set the correct dimensions for your flyer. It is important that you do this, as any attempt to adjust this at a later stage is likely to result in more work to correct the issues and the possibility of compromising your final design.
Use high-resolution images
When creating a document for print you will need a higher resolution than you would use for designs that you create online. Generally, online we try to reduce the size of files to reduce the amount of time it takes to load web pages, however, with print you will need a higher resolution, and therefore a larger file size to ensure that you get a nice crisp finish on your final print.
When designing for print you should also be working in dpi (dots per inch) and not ppi (pixels per inch), which is instead used for screen resolutions. The dpi ratio that you opt for will depend on the size of the flyer image that you are working with and its dimensions. Typically for an A5 flyer, for example, you’ll want to aim for between 240 and 300dpi to make sure that you get the best quality finish possible.
Keep a space for bleed area
As with all prints, you are going to want to ensure that you leave an area for bleed on your flyer design. The bleed area is there to provide some space to allow for any design inconsistencies or movement of the paper during the printing process. Typically you will want to allow around 2-5mm additional space around your flyer design to ensure that the printer has some leeway to work with and can trim off the extra card after the print job to give a nice crisp finish.
Get help from the professionals
At Kaizen Print we have a wealth of experience in helping clients with their flyer requirements. Whether designing or printing flyers, we can help guide you along the way and ensure that you are left with only the very best results. As a starting point, you can check out our flyer design templates [Link] which provide a great base from which to work off of. Created to be perfectly suited to the final print job, while also providing hints and tips about how to use them at the same time, our design templates will help you along the way to your perfect flyers.
To find out how we can help with your flyer needs, visit our leaflets & flyers page, or get in touch via our contact page, or by calling 028 9002 2474.


