Foil Printing
Sometimes referred to as foil stamping or foil blocking, foil printing is the process of applying (stamping) a thin coat of metallic foil to paper or card using a combination of a great deal of heat and pressure. An aluminium die is created to the desired shape and the foiling is then heated effectively printing the foil onto the paper stock.
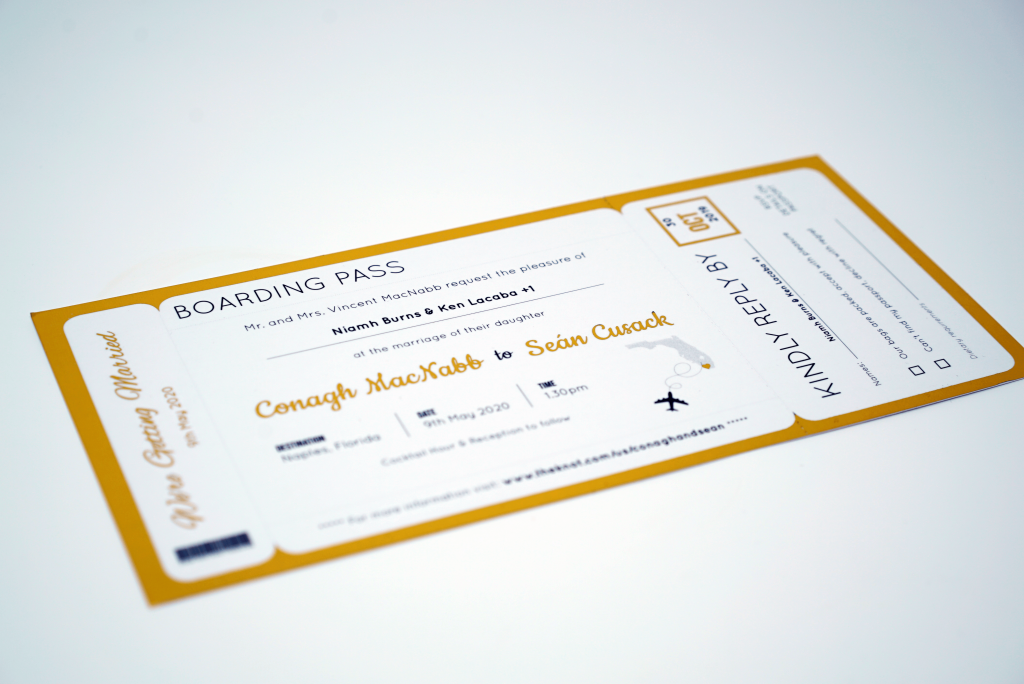
Foil Printing is often used for products like save the dates or wedding invitations and for commercial printing for businesses looking for a classy, luxurious or sophisticated finish to their printed materials. It is a stunning printed finish that can help your print to really stand out from the crowd.
Follow these steps to prepare your work for foil printing;
Step 1. Plan your design
First off you’ll need to plan your design. This is the most important part of the whole process. Sketch out your design, do a couple of drafts, show it to your friends or colleagues, get an idea of consense behind your design and make sure if you are acting as a business that it abides by your brand guidelines. When planning your design, we’d recommend that you abide by the following guidelines;
- Keep it simple: The best designs are often the simplest. Your design should complement the foil print and let it shine.
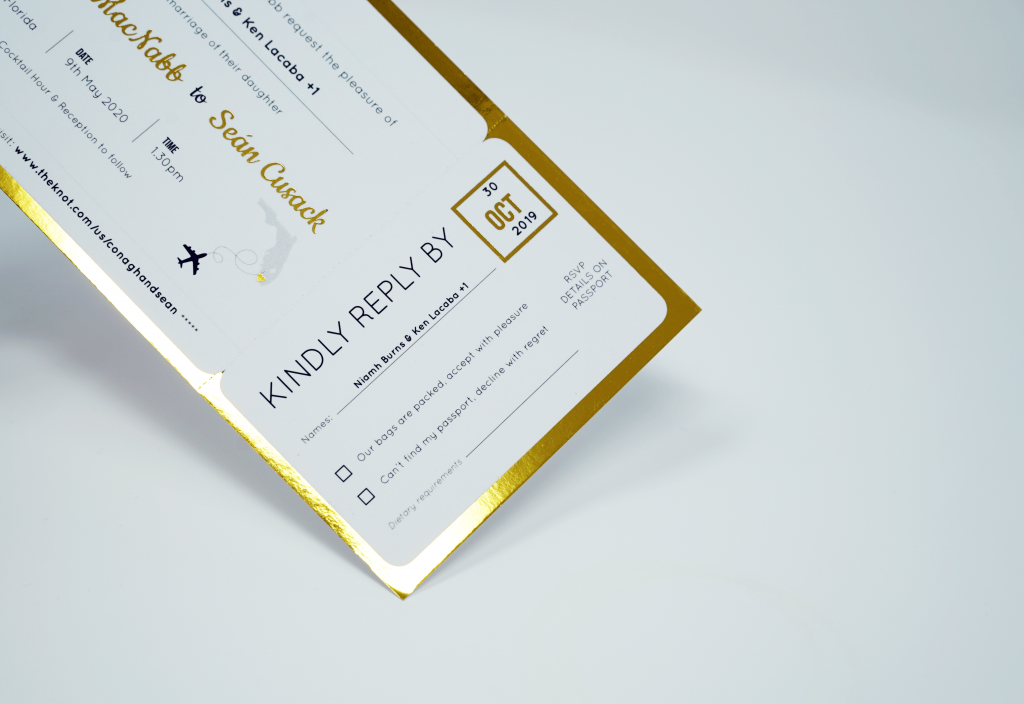
- Don’t use too much foil: It’s best not to cover your entire print with foil. Be selective with your foil elements to really make the best impression.
- Do your research: Take some inspiration from the many fantastic examples available to see what is possible with this great material.
Step 2. Create your design
Once you have settled on how you’d like your design to look and which elements you’d like to have embellished using a foil stamp, it’s time to bring your design to life using an image editing software such as photoshop.
First off you’ll need to create the basic design that you intend to use for your foil printing. At this stage, you’ll need to have all of the basic elements already decided. Elements including the size of your product (at Kaizen we offer A5, A6 or DL) or whether or not you’d like to have straight or rounded corners, will all need to be implemented at this stage as you set up your product for your main design.
Once you have brought your main design to life using your design software save it as a PDF to be used as a guide for printing.
Step 3. Choose the elements you wish to stamp
Now that you have your design as a guide it’s time to create it so that it is ready for foil printing. This requires creating two separate design elements – one for the part of the design that you would like to stamp and the other with all of the other elements of your design. Either set this up as an additional layer within your design document, or place the separate elements on separate documents. So long as each element is an exact replica of where you would like it to be placed on the main design then it will act as a perfectly acceptable template for the foil printing process.
Step 4. Convert into a spot colour
Once you have set up all of your elements you will need to convert each of them into a spot colour and to convert the colour mode into CMYK so that it is ready for print. By converting the colour into CMYK you can ensure that the colour you see on the screen is the same colour that you will end up with in the final print. You’ll want to make sure that whatever colour you choose is a 100% full colour with no tints.
Step 5. Label each element
Before sending your final design to the printer you’ll want to ensure that all of your elements are clearly labelled. If you are working with layers then save each layer with an appropriate name and tell the printer which layers are required for which part of the design process. You can then display and hide the required layers.
To find out how we can help you with your foil printing needs you can visit our foil printing page, or get in touch via our contact page or by calling 028 9002 2474.