Presentation Folders can help you stand out from the crowd, whether it is a small meeting or a large conference with hundreds of people. However, this is only if they are done the right way. Before going ahead with Presentation Folders, it is important that you understand how they need to be set up beforehand, especially if you have decided to design them yourself. Read on here to find out how best to set up presentation folders for printing!
Top tips for Printing
- Interlocked or Glued
- Sizing
- Artwork
- Bleed and other bits
Interlocked or Glued
Before you begin designing your presentation folder, you need to make sure that
Sizing
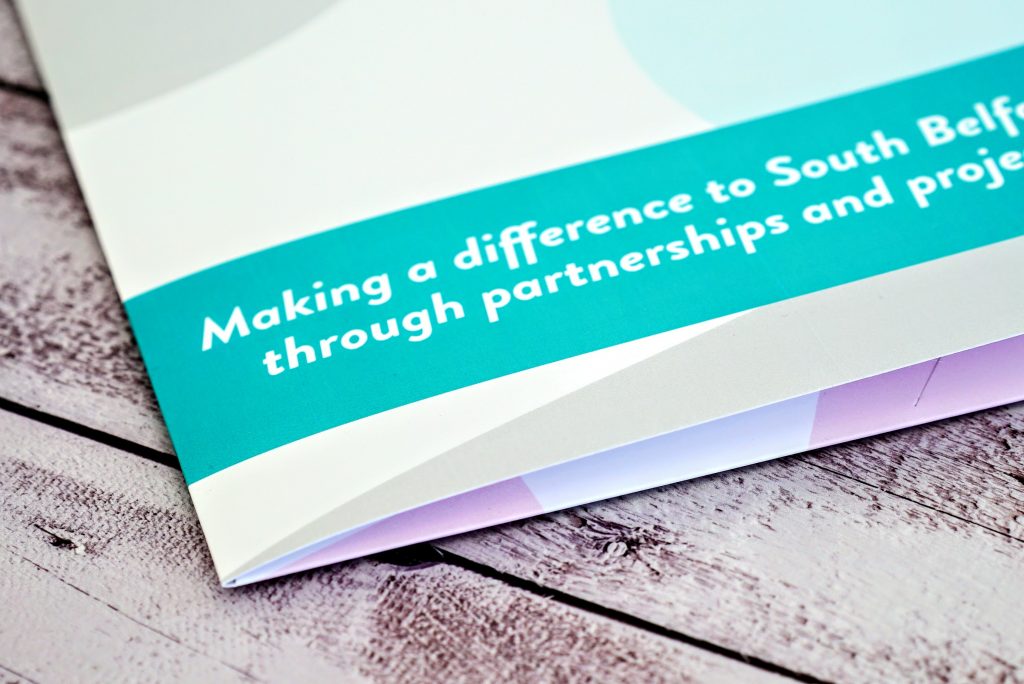
Next up, you need to choose your size and again this all depends on what you are going to be using the Presentation Folders for. Here at Kaizen Print we offer two sizes: Oversized A4 and Oversized A5. They are both oversized as it means that no matter what goes in them, they are going to be kept safe, unlike some Presentation Folders that are the exact same size as the documents, meaning they can still get damaged. A4 would be perfect if you are going to be giving a presentation or perhaps are speaking at an event, as you can keep all of your notes and documents in. A5 would be great if for example you are sending out some information packs to customers, as then you can keep smaller flyers or brochures in them, as well as your business card.
Artwork
Supplying artwork for your presentation folder can be the tricky part,
Bleed and other bits
The final piece of the puzzle, is to find out from your printer whether they require any bleed to be supplied along with the artwork and if so, apply this to your artwork before sending it through. Bleed is important as with any printer or press, there is a small degree of movement when the job is being processed. Without it, it may result in a white border around the image once it is cut. By supplying bleed you are cutting this out and ensuring your folder is clean when cut. As standard, we usually ask for 3mm bleed around the artwork.
Now that you are aware of what needs to be done when setting your folders up for print, you are o your way to getting the best and ensuring you knock your next presentation or meeting out of the park! We hope the information within this article has been beneficial to you!